Print this page
Currently, over 95% of our customers use the online update option. Follow the steps below to update Acomba safely and easily via Internet.
Updating via Internet is simple and poses no threat to your Acomba data.
If this is your first Acomba update via Internet, pay close attention to steps 1, 3 and 4.
Step 1
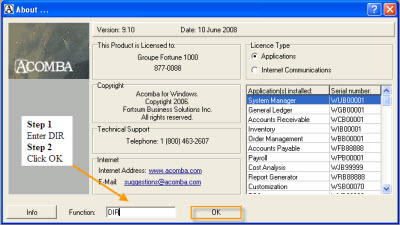
Before starting, you must know in which folder Acomba is installed.
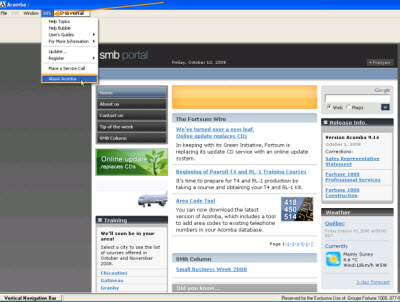
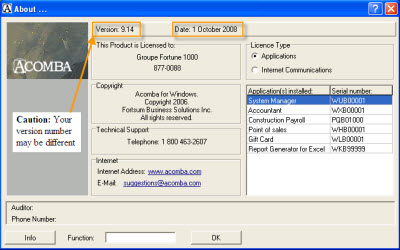
- Click the Info menu, select About Acomba.
Click to enlarge in a new window
- In the Function box at the bottom of the window, enter DIR (for directory) and click OK.
Click to enlarge in a new window
- The Information window is displayed; note the folder in which Acomba is installed.
Installation Folder:
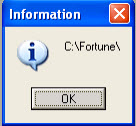
• Close the window.
Step 2
Click the Info menu, select Update...

Click to enlarge in a new window
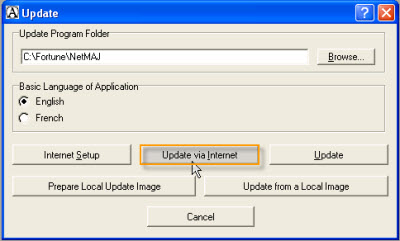
Step 3
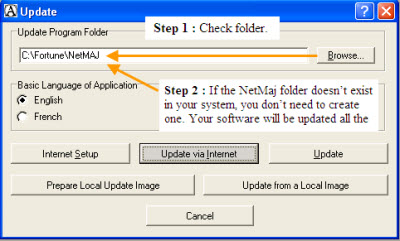
In the Update Program Folder box, ensure that the installation folder followed by NetMAJ (the Update via Internet folder) is displayed. If another folder is indicated, click Browse and select the correct folder. Note that if you don’t already have a NetMAJ folder, you do not have to create one.
Example C:\Fortune\NetMaj or C:\Fortune
Click to enlarge in a new window
Step 4
Click Internet Setup and make sure you have selected LAN Connection and no proxy options are selected. Click OK.
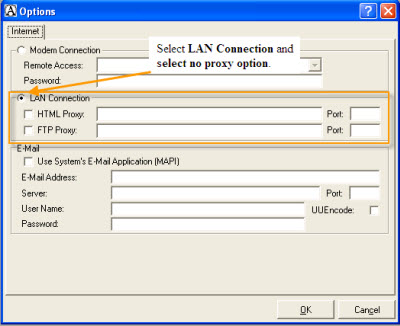
Click to enlarge in a new window
Step 5
You are now ready to download the update by clicking Update via Internet.
Click to enlarge in a new window
Step 6
The following message is displayed:

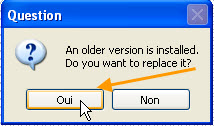
Step 7
In the confirmation window displayed, click Yes. (as mentioned earlier, there is no danger involved in downloading the update via Internet).

Step 8
Follow the on-screen instructions.
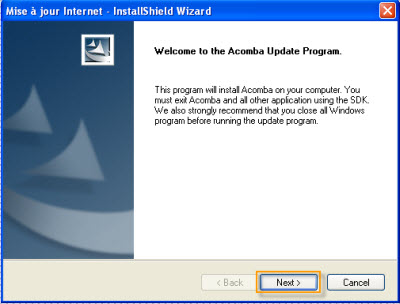
Click to enlarge in a new window
Step 9
When the update is complete, you can check the new version and date in Info menu/About Acomba.
Click to enlarge in a new window