For the employer:
If you use your application's ROE Web option, you no longer have to keep paper copies in your files or send them to Service Canada. ROE Web allows you to keep, consult, modify and print ROEs for a period of 11 years. You don't even have to provide a paper copy to your employees, since they do not need it to apply for employment insurance benefits. ROEs are always accessible online and employees can consult or print their ROE using My Service Canada Account (MSCA).
For employees:
My Service Canada Account is a secure online portal which employees can use to:
- View their latest claim
- View past claims
- View payment information
- View messages related to their employment insurance
- View their records of employment
- Consult employment insurance publications
- Obtain a copy of their T4 slip
- Update their mailing address and telephone number
Link for employees to access My Service Canada Account
https://www.canada.ca/en/employment-social-development/services/my-account.html
Note: When creating an account, there could be a delay before it can be accessed.
For employers who use MyPaycheque.net:
You can use MyPaycheque.net specifically linked to records of employment to:
- Create a news item in order to inform employees that they do not need a paper copy of their record of employment and that they can register for My Service Canada Account to follow the progress of their file (see the procedure (see the procedure How to create a news item).
Note: You can even add the link to My Service Canada Account directly in the message.
- Create a useful link to easily provide employees the link that they must use to access My Service Canada account or any other link you deem useful (see the procedure How to create a useful link).
How to create a news item
To create a news item in MayPaycheque.net, proceed as follows:
- Log in to the MyPaycheque.net site with the Employer account.
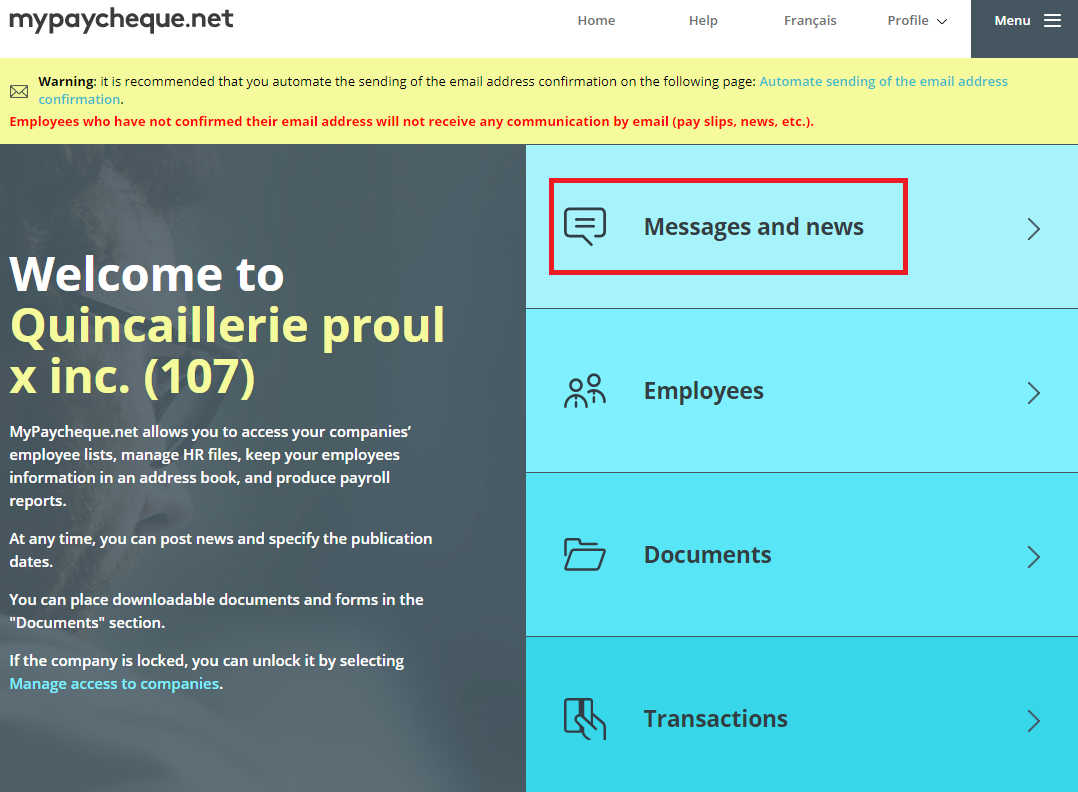
- Click Messages and news.
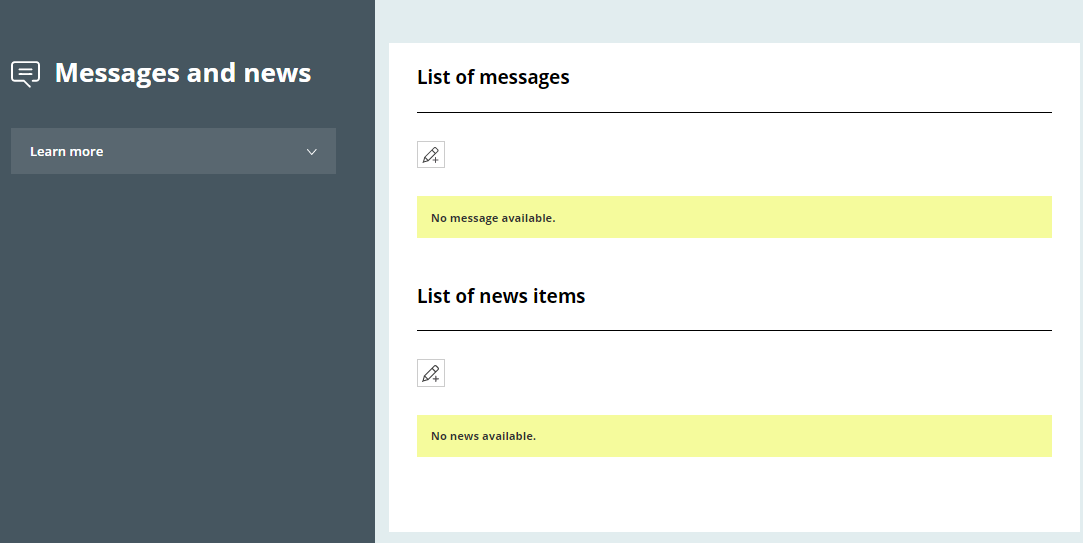
- In the List of news items group, click the pencil.

- In the News page, select the Language, enter the Title and Text of the news item.
- Select the send options and determine the publication dates.
- Click Save.
How to create a useful link
To create a link in MyPaycheque.net, proceed as follows:
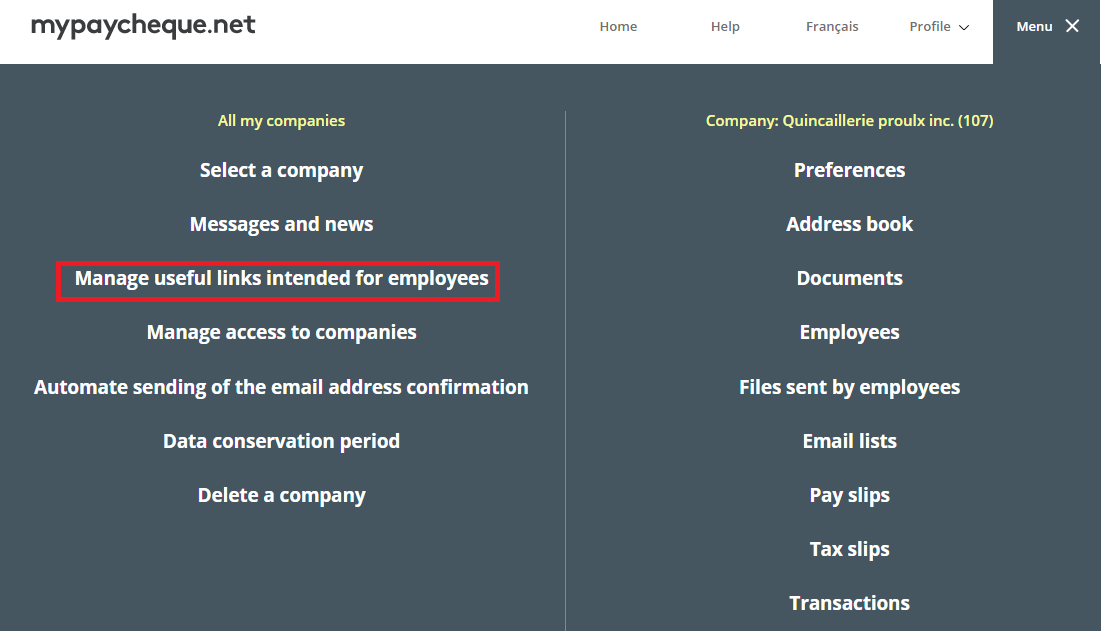
- Log in to the MyPaycheque.net site using the Employer account.
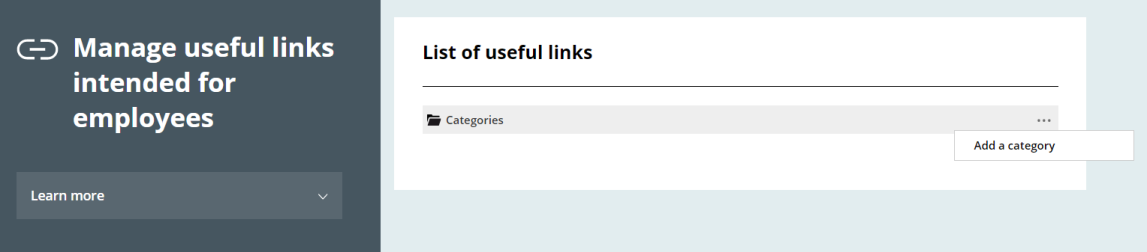
- Click Menu and select Manage useful links intended for employees.
The List of useful links page is displayed.
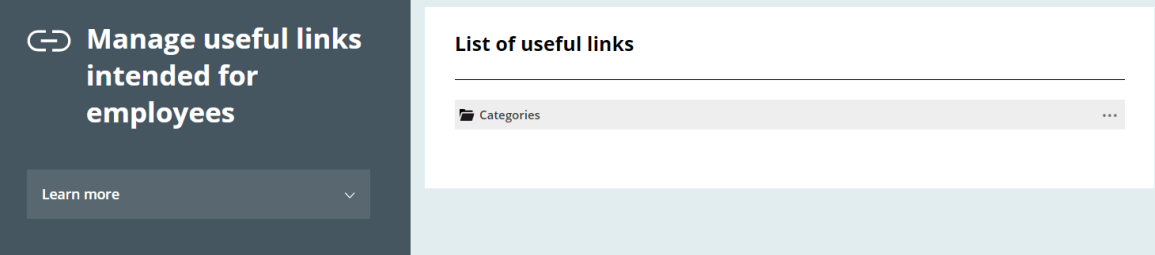
- Click the
 button to add a category.
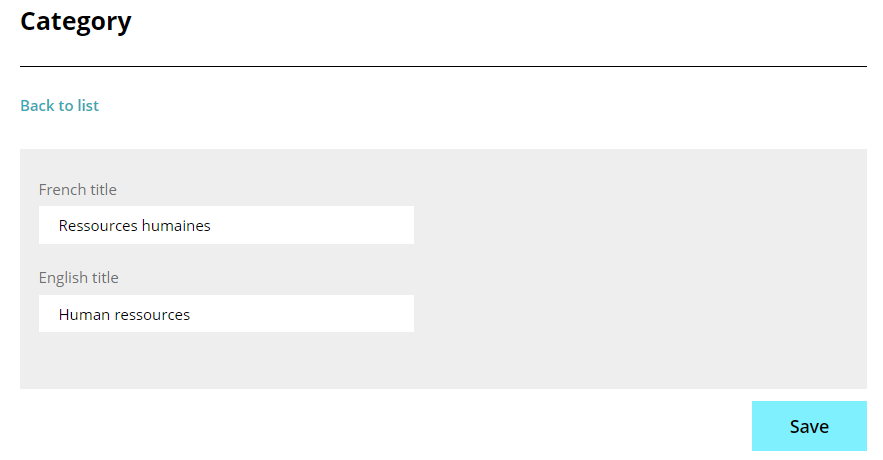
- Enter the French Title and the English Title.
- Click Save.
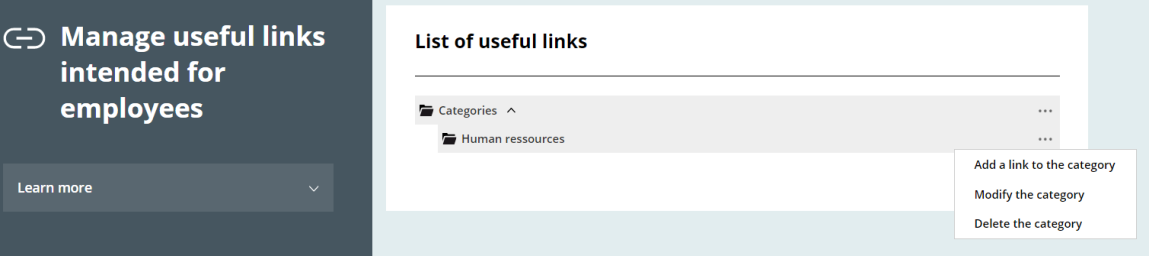
- Click the button of the category and select Add a link to the category.
The Link window is displayed.
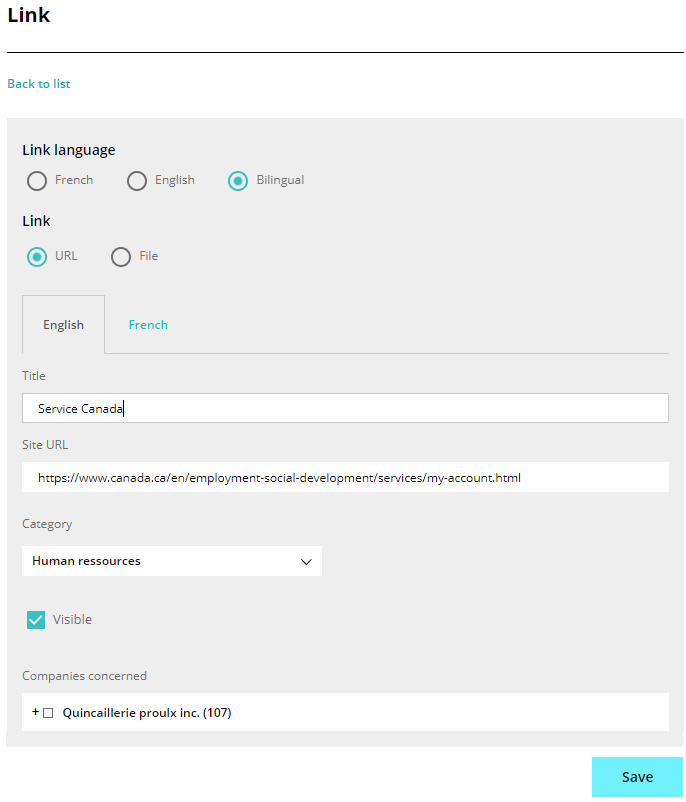
- Define the parameters of the link and click Save.